Pages

Showing posts with label black olives. Show all posts

Saturday, December 24, 2011

December 24, 2011: New Mexican Chalupas Recipe

Bookmark and Share
Here’s another perfect winter dish that feeds a lot of people and fills them up quickly. The best part about this recipe is that you can throw the ingredients together in the morning and let it cook all day long, until the meat and beans are melt-in-your-mouth tender. Served with a salad and flour tortillas, it’s a complete meal with little fuss and muss.
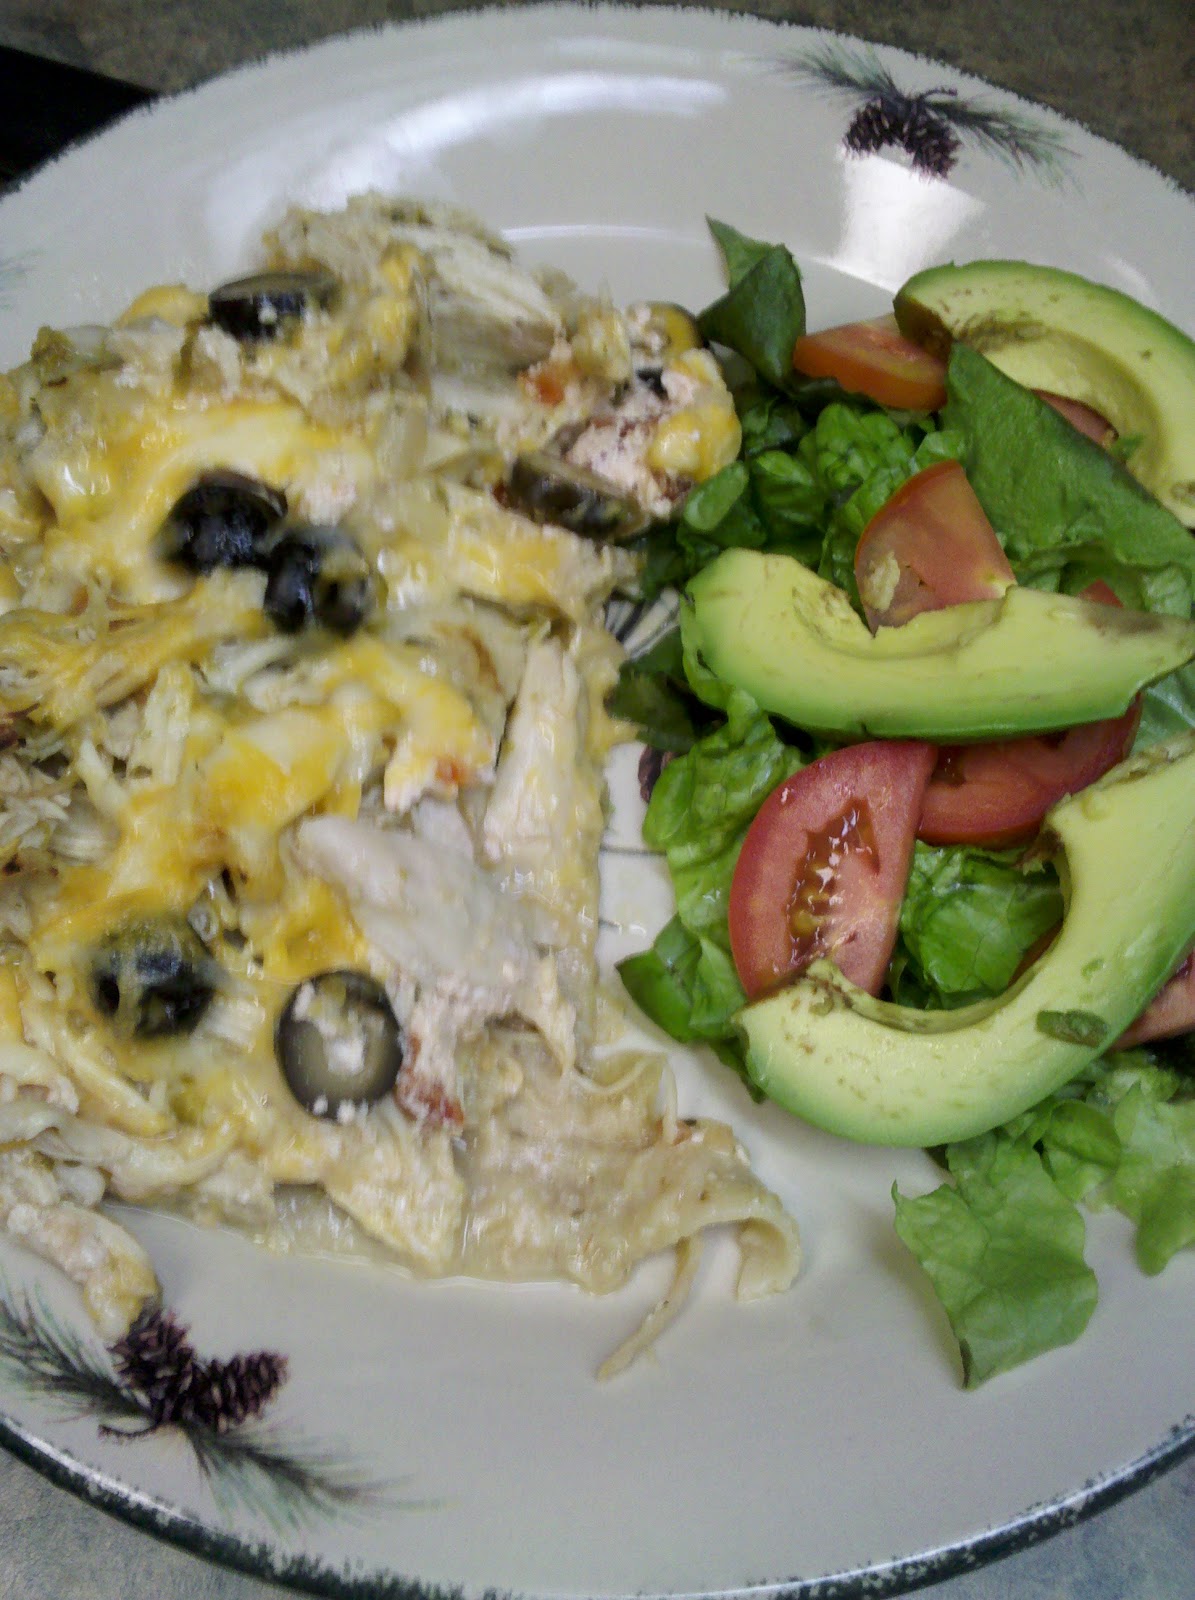
Chalupas

One 3-pound pork roast (any variety; even tough cuts become tender)
1 T. vegetable oil
1 small white or yellow onion, chopped
2 cloves garlic, minced
1 t. oregano
1 T. ground cumin
1 t. salt
1 16-ounce can tomatoes
2 14-ounce cans chicken broth
2 small cans green chiles (or 1 cup fresh/frozen chiles, diced)
1 pound dry pinto beans, rinsed
¼ t. powdered red chile
6 quarts water
Shredded cheddar cheese, sour cream, chopped green onions, black olives and salsa for garnish (any or all optional)

Trim and discard excess fat from pork. Heat the oil in a Dutch oven to medium; add pork and brown on all sides. Add onion and garlic and sauté for a couple minutes. Add remaining ingredients (up to garnishes). Bring to a boil then cover, reduce heat and simmer for 3 to 6 hours, stirring often (you can also placed the covered pot in a low oven for the same amount of time).

Before serving, remove pork roast and shred into bite-size pieces. Return to pot. Spoon pork mixture onto tostada shells and top with garnishes, or serve with flour tortillas or corn chips on the side.

Serves 12 – 16

Saturday, October 15, 2011

October 15, 2011: Leftover Pork Roast Pasta Recipe

Bookmark and Share
How many times do you prepare a meal one night and find yourself with just a little bit of it left over? This happens to me a lot – particularly when I make a pork roast but there are also times when I have a single leftover chicken thigh or smoked sausage.

The question is what can you do with them? If you don’t want to eat leftovers the next day for lunch or dinner, then your task is to repurpose them. Here’s an easy way to do so.

There’s not a hard and fast recipe for using leftovers to make a pasta dish. I’ll share with you what I did with mine the other night (and this concoction used up a whole bunch of other little bits and pieces, too):

Leftover Pork and Pasta

4 ounces penne pasta
1 t. olive oil
¼ red bell pepper, thinly sliced
2 green onions, sliced on the diagonal
3 mushrooms, thinly sliced
3 small slices leftover pork loin roast, cubed
¼ cup chopped tomato (I used a couple cherry tomatoes)
½ jar marinated artichoke hearts, drained
6 - 7 black olives, sliced
1/3 cup heavy cream
2 leaves basil, chiffonade sliced
Freshly ground black pepper
Shaved Parmesan cheese (use a vegetable peeler)

Cook the pasta according to package directions.

Heat the olive oil to medium in a heavy skillet. Add the bell pepper, onions, and mushrooms. Cook just until slightly softened. Add pork, tomato, black olives and artichoke hearts. Heat through (mixture will be moist from tomatoes and artichoke hearts). Turn heat to low and add cream.

Divide pasta between two plates or bowls. Top each with half of vegetable mixture, basil, freshly ground black pepper, and shaved curls of Parmesan cheese.

This is just one example of a leftover pasta dish. Tomorrow I’ll share additional combinations of meat, vegetables, pasta and sauces that will work with just about any leftovers in your fridge.

Monday, August 15, 2011

August 15, 2011: White Pizza on the Grill Recipe


Bookmark and Share
I’ve always wanted to try my hand at making pizza on the grill. Although I wasn’t confident enough to place it right on the rack (I used my pizza stone), this still has the flavor and crispiness of a crust cooked in a barbecue with an open flame. This version of pizza is perhaps my husband’s favorite so far. I hope you enjoy it, too!

White Pizza

Crust:
1 cup warm water
2 t. yeast
2 T. olive oil
1 t. sugar
1 t. salt
2 ½ cup flour

Dissolve yeast in the warm water. Add remaining ingredients (use a stand mixer for best results) and mix until it forms a smooth ball. Place in a greased bowl, cover and let rise for about 30 minutes or until doubled in size.

Roll out the dough into a circle. Carefully place it on a pizza peel dusted with cornmeal.

Place a pizza peel in your grill heated to as high as it will go (with indirect heating). Carefully slide the pizza dough from the peel to the heated stone. Cook for about 5 minutes, until it is just firm enough to slide back onto the pizza peel without breaking or falling apart.

Toppings:
½ jar store bought Alfredo sauce
1 lb. mild Italian sausage, crumbled and cooked
1 Roma tomato, thinly sliced
½ cup thinly sliced black olives
6 ounces shredded mozzarella cheese
1 ounce shredded Parmesan cheese

Spread Alfredo sauce on the prepared pizza crust (still on the pizza peel). Top with tomato and black olive slices. Sprinkle with cheese, followed by sausage. Slide the topped pizza crust back onto the pizza stone and cook for about 10 minutes. If desired, finish pizza under the broiler for a few minutes to brown cheese.

Makes 8 large slices.

Friday, August 5, 2011

August 5, 2011: Lite Chicken Green Chile Enchilada Casserole Recipe

Bookmark and Share

I just got back from spending a weekend in my hometown of Silver City, New Mexico. While I was there I had to eat my favorite Mexican food. In my opinion, Silver City is home to THE best Mexican food found anywhere on the planet. I have fond memories of eating at each of the restaurants while growing up, including El Paisano, the Silver Café, Jalisco, and Tillie’s. I was in town for my 30th high school reunion and many of us reminisced about the wonderful food we had in our town while growing up.

These days as we all get older and – how shall I say it – bigger, we can’t eat the same food we used to without gaining pounds instantly. This recipe is my version of chicken enchiladas that is much lighter than the traditional (but the still most mouth-watering) enchiladas I enjoyed in Silver City.
Lite green chile chicken enchiladas served with a salad of green leaf lettuce, tomatoes and avocado slices.

Lite Chicken Green Chile Enchilada Casserole

1 T. olive oil
½ cup minced onions
2 cloves garlic, minced
2 boneless, skinless chicken breasts
¼ cup chopped tomatoes
¼ cup chopped green chiles
½ cup chicken broth
1 t. cumin
1 t. dehydrated cilantro
Salt and pepper to taste
4 corn-wheat tortillas (I used La Tortilla Factory Hand Made Style Corn Tortillas, large size)
2/3 cup Greek yogurt
1/3 cup salsa
1/2 cup sliced black olives
1 cup shredded Colby jack cheese

Heat the olive oil to medium in a saucepan. Add onions and garlic; cook for 5 minutes, until slightly translucent. Add chicken, tomatoes, chiles, broth and spices. Bring to a boil; reduce heat and simmer for half an hour or until chicken is cooked all the way through. Remove chicken from the broth mixture with a slotted spoon and set aside to cool. When cooled enough to handle, shred chicken and add back to broth mixture. Simmer for another 10 minutes.

Meanwhile, combine yogurt and salsa. Grease a 13 x 9 inch pan.

To assemble enchiladas: place two tortillas in the bottom of the greased pan. Spray with cooking spray. Pour half the shredded chicken mixture over the top. Dot with dollops of the sour cream mixture; sprinkle with half the black olives. Top with half the shredded cheese. Place two more tortillas on top and spray with cooking spray. Top with remaining ingredients.
Fresh out of the oven and bubbling hot.

Cook in a 350 degree oven for about 20 minutes, until cheese is melted and casserole is heated through. It will look soupy but the tortillas will absorb any extra moisture as it sits, so let the casserole rest for a few minutes before serving.

Serves 4

Tuesday, May 31, 2011

May 31, 2011: Mexican Pizza with Jalapeno Cornbread Crust Recipe

Bookmark and Share

Here we are on the last day of the month… already! The summer season has officially begun and 22 years ago today I gave birth to my awesome, wonderful, handsome, intelligent, funny, responsible, hard-working, most precious son. Happy Birthday, Neal!

Now, for the last recipe of the month.

I made this one up the other day. I wanted something Mexican and I was craving pizza and this is what I came up with. Although I always make my refried beans from scratch (I actually don’t refry them but just mash them with the cooking liquid to save on calories) feel free to use a can of good quality beans instead.

Mexican Pizza

Jalapeno Cornbread Crust:
¾ cup warm water
1 ½ t. dry yeast
1 T. honey
1 T. finely chopped jalapenos
1 T. butter, softened
1 t. salt
¼ cup cornmeal
2 – 2 ½ cups flour

In the warmed bowl of a stand mixer, combine the water and yeast. Let sit for a few minutes, until it starts to froth. Add remaining ingredients, through cornmeal. Add one-and-a-half cups of the flour and process on Speed 2 for a couple minutes. Add remaining flour, half cup at a time, until mixture forms a smooth dough. Place in a greased bowl, turning to coat all sides, and cover. Let rise in a warm place 30 minutes, or until doubled in size. Punch down the dough.

Grease a pizza stone with olive oil. Evenly spread the dough across the pan, using your fingers to bring it to the edges; crimp the edges slightly.

For the Pizza:
2 cups refried beans
1 cup sliced black olives
½ onion, thinly sliced
1/8 cup minced fresh cilantro
2 cups shredded Colby jack cheese
1 lb. chorizo, cooked and drained of grease
4 slices pepper jack cheese
Shredded lettuce and diced tomatoes, optional
Taco sauce, optional

Preheat oven to 425 degrees. Place oven rack in lowest position.

Spread the prepared dough with refried beans. Top with olives, onion, cilantro, shredded cheese, and chorizo. Place the four slices of pepper jack cheese around the pizza in a diamond pattern.

Bake for 15 – 20 minutes, until the crust is brown and the cheese is melted. Remove from oven, cool slightly, and slice into eighths. Top with lettuce, tomato, and taco sauce, if desired.

Makes 8 slices.

Wednesday, May 25, 2011

May 25, 2011: Beef Fajitas Recipe

Bookmark and Share

When it comes to grilling meat for fajitas you have a couple options. Number one is to use a large hunk of meat, such as a skirt steak, and place the whole thing on a grill to cook. The other option is to use meat that is already cut up, such as the butcher’s package of “stir fry meat”, which is usually quite reasonably priced.

When I made this recipe I used the latter, and cooked them quickly on the cast iron griddle on the side burner of my propane grill. It doesn’t really matter which method you use (although it’s easier to get rare meat when you use the whole piece), in either instance the idea is to cook the meat very quickly, just searing the outside surfaces. If you do opt for pre-sliced beef, be sure to use a cast iron griddle or skillet over high heat.

Beef Fajitas

Marinade:
1 cup tequila
Juice of one lime
1 T. kosher salt
1 t. dried or 1 T. fresh cilantro
2 cloves garlic, crushed or 1 T. freeze dried garlic
2 T. vegetable oil
1 pound beef (cheap, tough cuts such as sirloin, skirt steak, etc. are perfect)

Combine all ingredients through the oil; add the beef (either as a whole slab or cut into strips as discussed above). Marinate in the refrigerator for several hours or overnight, turning the meat occasionally.

4 soft taco sized flour tortillas, warmed in the microwave for half a minute
1 white or yellow onion
1 bell pepper, optional
1 cup shredded Colby Jack cheese
Nacho jalapeno slices
Sliced black olives
Salsa
Sour cream
Avocadoes, thinly sliced (or prepared guacamole)

Thinly slice the onion and bell pepper and sauté in olive oil just until soft. Set aside. Assemble remaining ingredients in bowls for diners to make their own burritos.

Cook the meat on a hot grill or griddle for 1 to 2 minutes per side for medium rare. Remove from heat and tent with a sheet of aluminum foil to keep warm until ready to eat; it will continue to cook. If you cooked a large piece of meat, slice it thinly after letting it rest under the foil for about 5 minutes.
Beef fajitas served with a simple salad with Chipotle Garlic Ranch dressing and Spanish rice

To assemble, take a flour tortilla and spread with shredded cheese, top with fajita meat, sautéed onions and peppers and additional ingredients as desired. Roll up and enjoy!

Friday, March 25, 2011

March 25, 2011: Tortilla Rollups

Bookmark and Share

Today is my grandson’s very first birthday! My precious little boy is having a birthday party tomorrow. I asked his mom what I could bring for munchies to serve before pizza and birthday cake and she said, without any hesitation whatsoever, “Tortilla roll-ups!”

I made them for her baby shower over a year ago (that’s when this photo was taken – wasn’t it cute the way everything was served in boy toys?) and she absolutely loved them. Of course if my dear daughter-in-law wants anything, she gets it! I think these tortilla roll-ups are second only to Grammy’s homemade dinner rolls when it comes to her favorites.

The recipe below is enough to make a big platter-full, like the one you see in the photo. Serve them with salsa (homemade is preferable but good old Pace picante sauce will work in a pinch).

Tortilla Rollups

2 packages flour tortillas, burrito size
2 8-ounce packages cream cheese
1 can large black olives, diced
2 cans chopped mild green chiles (or about 3 fresh roasted green chiles, peeled, seeded, and chopped)
5 green onions, finely sliced
3 cloves garlic, finely minced
1 bunch cilantro, minced (optional)
2 t. cumin powder

1 t. salt (or to taste)
2 t. chili powder
1 t. black pepper

Mix the softened cream cheese with the rest of the ingredients. Taste and adjust seasonings as necessary.

To assemble, take one flour tortilla and spread it with about one-quarter cup of the cream cheese mixture; don’t make it too thin (they won’t be very tasty) or too thick (the filling will ooze out when you cut the tortilla). Shape into a log by tightly rolling the tortilla from one edge to the other. When you’ve used up all the cream cheese, cover the logs with plastic wrap and place them, seam side down, in the refrigerator for about an hour so that the filling hardens up slightly.

To serve: place each tortilla log on a cutting board and slice into one-inch thick slices. Arrange the horizontal slices (they should look like pinwheels) on a platter, around a bowl of salsa.